Canva is an easy-to-use online graphics application that has free as well as premium subscription options. Canva makes it easy to create a Facebook post image.
Canva is a great tool to get started creating images for your business and helping your clients. Templates are available to help you get started creating everything from Facebook post images to YouTube thumbnails and even logos.
Steps to Create a Facebook Post Image in Canva
Login to your Canva Account.
Click on Social Media > Facebook Post and select the template you want to customize.
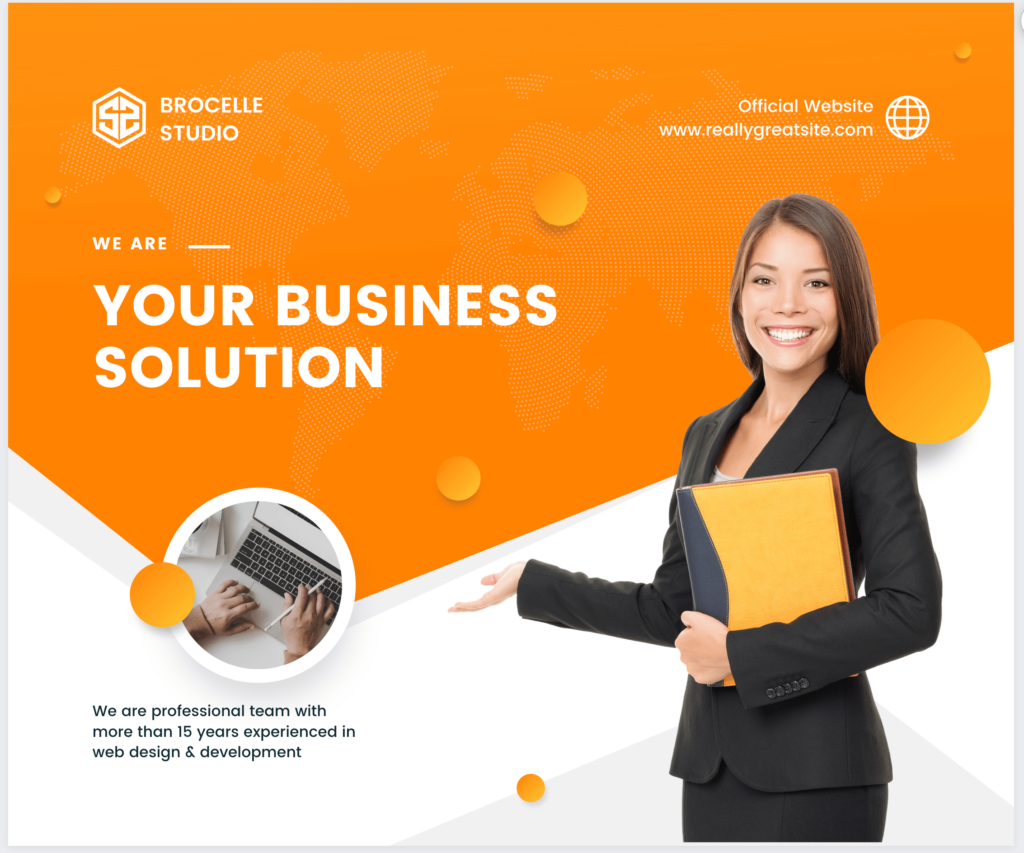
Click on the “Customize this template” button. This opens the template for you to start customizing. For this lesson, I have chosen the following template. Note it is different than the one from the video. I wanted to provide two examples of customizing templates.
Double-click on the image of the woman. From your Uploads, add an image of yourself or person you want to represent the post. Note that you'll need to have a transparent background. Learn more about transparent backgrounds in an upcoming post, and check out the Canva Background Remover Post to learn how to do this without leaving Canva. Note that if you want to keep the default person, skip this step.
To change the colors, in this case the dark orange. Click on the orange background color. This opens the Edit Image options and shows you the two colors you can change.

Select the color you want to change. For our purposes, I'm going to click on the dark orange color. This opens a box of frequently used colors, and if you have saved your Brand Colors those will show here also. I'm going to select one of my corporate purples, which changes the dark orange to purple.
At the bottom of the box, notice the option to change all of one color to another. In this case, we only have one section of color to change. In documents where a single color is used in multiple locations, this option helps you make your changes faster because you don't have to click on each area displaying that color.
To change the text, click on the area of text you want to change and edit as desired.
Once you are done, click on the Share button at the top right to Download or share your image. I like to download mine as a PNG and then upload to Facebook, blog posts etc… separately. See my final Facebook Post Image below.

How to Position Your Image in Canva Templates
For some Canva templates, images are shown within a shape that makes for a nice graphical layout. When you select a template and replace the image with yours, it will take on the shape shown within the template. Sometimes, the positioning needs to be adjusted to make sure the image isn't cut off inappropriately. Learn more about positioning images in the blog post covering How to Position Images in Canva Templates.
Transcript of How to Create a Facebook Post Image in Canva
(00:01):
Hey everybody. It's Kim Shivler. Welcome. Today, I have just a quick intro lesson for Canva. Canva is an online graphic design tool. There's a free version as well as a premium or pro version that is paid for, and it is one of the easiest ways to get in and create professional-looking graphics for your Facebook posts, your covers, infographics, all of your different social media. It's one I highly highly recommend because you can create great-looking graphics without being a graphic designer. I happen to say that for me, I'm graphically challenged. So having a tool like this is really, really helpful just to get you started with a quick lesson, and I'm going to link to some other tutorials and great information by people who do specific Canva training, and the company has some great training. Also, today, we're just gonna look quickly at building a Facebook post easily.
(01:17):
I can click here on Facebook post. This is one of my favorite things about Canva. Back in the day, I used to have to keep a little list of the sizes I needed for different size posts and video thumbnails, et cetera. They have that all ready for you. Now, when I clicked on the Facebook post, what you'll see over here is all of these different templates laid out to help you get started. They're all specked for what size they should be. When you see one with the little crown, those are pro only, but if you scroll through, look at how many of these are available for free. So I recommend everybody go ahead, log in and get started for free. Now I'm going to be creating a post for September 15th, which is National Online Learning Day. So we're gonna talk about a free online course that I'm going to deliver, uh, to celebrate that day. Now, I like this one. So I'm gonna go ahead and grab it. And this gives me that layout basically by clicking. So if I click here on online course, uh, notice I could delete it. I can duplicate it. Or if I want to just change the text, I can change that.
(03:03):
You'll notice, and I'm gonna be moving all of this around. I'm not gonna build the whole thing for, for you, but you can just see a little example here. I can click here to center that notice that you have this editing bar, very similar to what you have in a word processor, where you can, for example, change the color. And here I have my default colors saved. If you are actually using Pro, you can actually create a brand kit where you have your brand colors, and information like that so that you can quickly add the information while staying on brand colors in particular, you really want to be able to keep those on brand. So that's all it is to changing the text, deleting it, moving it then for the image. I can just click on that right now. I'm gonna go over into my uploads, because I have some images now.
(04:02):
I really like her. Look here with the pointed finger. So I think I'm going to snap a pic of myself doing that. But for now, just to show you, I'm gonna delete that one just to show you if I click on this one, if I drag it, whoops, if I drag it into that area, then it resizes it and it puts my picture there again. I am gonna do a new picture here. Once I am ready to download this and place it into my social media, all I have to do is click on share. And at that point I can actually download it. I can copy a link. I can send it to someone. I can share it on social so I can share directly to my social media here. I don't personally do that. I like to download it, take a look at it and then, uh, upload it myself particularly.
(04:58):
So it shows exactly that I'm uploading it from my account. Sometimes, uh, social media platforms don't like scheduled, um, sharing. They want to see that you're actually going to be on the platform. That is their goal is to keep you on their platform. And then, if you have Pro, you can actually schedule it from here so I could create it today and schedule it to be posted on the 15th. Again, I choose to do that myself, but if you're using pro it is an option. Now, as I said, I'm gonna give you some links to other people who do great Canva training and the company itself has some great tutorials. This was just a quick intro to let you see some of the possibilities for how fast you can build some images within the Canva platform. So if you're not a member yet, grab a free account and start playing I'm Kim Shivler. Thank you so much for joining me. I'll see you next time. Bye.
Helpful Links for More Information on Canva
Explore Canva's Getting Started Tutorials to Jump Start Your Progress in Canva
Check out the tutorials and topics in the Canva Learning center. Login to your account and click on the Learn option in the top menu.
